I stopped filming my reels (my AI avatar reads the script)
Last updated August 2026 · 30 min · HeyGen API, about $0.05/sec of video (a 45s reel is ~$2.25); Claude Pro $20/mo · Builder
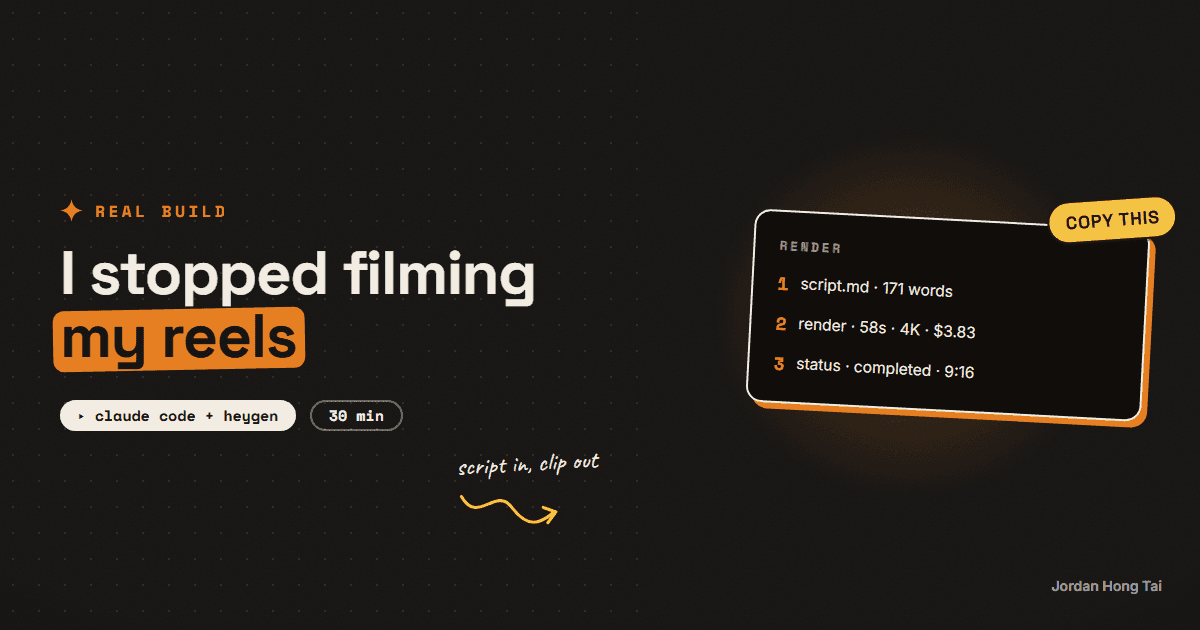
You'll set up a pipeline where a text file becomes a talking-head clip of your own AI avatar, in your voice, with no camera. Claude Code calls HeyGen's API from a skill file, waits for the render, and drops the clip in your editing folder. After the 30-minute setup, a reel starts with a paragraph, not a tripod.
AI avatar reels sound like a gimmick until you count what filming actually costs you: the setup, the lighting, the 14 takes, the day you didn't post because you didn't feel like being on camera. The talking head is the one part of a reel that can't be batched. Unless it isn't you.
This is the pipeline I use now: a script goes in as a text file, Claude Code sends it to HeyGen's API, my avatar reads it in my cloned voice, and the clip lands in the folder my editor pipeline already watches. I still write every word. I just don't film them.
What you'll have when you're done
- An avatar of you and a clone of your voice, reusable by ID
- A skill file that turns a script file into a 9:16 talking-head clip with one sentence
- A cost and length check you approve before anything renders (every render is real money)
- Three hook variants and the body in one render, ready for the trial-reel test
- [SCREENSHOT: script.md on the left, the finished avatar clip on the right]
Before you start
- Claude Code installed (it's Claude in a terminal that can run tools on your machine). Comes with the Claude Pro plan, $20/month.
- A HeyGen account. Creating the avatar and voice happens in the app; the API runs on a prepaid wallet, about $0.05 per second of finished video for a photo avatar. Load $10 and you have three or four reels of runway.
- One good photo of you (chest up, even light, plain background, looking at the lens) and 1 to 2 minutes of clean audio of you talking.
- 30 minutes.
Step 1: Make your avatar and clone your voice
This part happens once, in the HeyGen app, and takes about 10 minutes.
- Avatars, then create a photo avatar from your photo. Give it a name you'll recognise later ("Studio hoodie", "Desk, glasses"). HeyGen calls each generated variation a look; you'll want the ID of the look you like.
- Voices, then clone your voice from your audio. Name it after yourself.
- Approve the consent step for your own likeness when HeyGen asks. It's required, and it's the right rule.
Start with a photo avatar. It's ready in minutes and it's the cheapest per second. If you later want the one that moves more like you, train a digital twin from a couple of minutes of footage and swap one ID in the skill file.
Check it worked: you can see your avatar and your cloned voice in the HeyGen app, both marked ready. [SCREENSHOT: the avatar look card in HeyGen]
Step 2: Give Claude Code the key and let it find your IDs
Open Claude Code in a new folder (call it avatar). Get an API key from HeyGen's settings and put it in a file called .env in the folder, one line, HEYGEN_API_KEY=your-key. Claude Code reads it from there; you never paste it into a prompt.
Now let it fetch your IDs instead of hunting through the app:
Read HEYGEN_API_KEY from the .env file in this folder (never print it).
Using HeyGen's v3 API (base https://api.heygen.com, header X-Api-Key):
list my avatar groups with GET /v3/avatars, then the looks in each with
GET /v3/avatars/{group_id}/looks, and my private voices with
GET /v3/voices. Show me a short table: name, type, ID. Then check
GET /v3/users/me and tell me my wallet balance.
Pick the look ID and the voice ID you want. Keep the table; the skill file uses both.
Check it worked: you have a look ID and a voice ID, and Claude Code reported your balance without ever showing the key.
Step 3: Write the avatar skill file
A skill file is a saved instruction document Claude Code reads before working, the same idea as the editor's EDITOR.md. Create it once, with your two IDs filled in:
Create a file called AVATAR.md in this folder with exactly this content
(replace the two IDs with mine from the table), then confirm you'll follow
it whenever I ask for a render:

You are my avatar renderer. When I give you a script file, run this:

1. READ the script. It has four sections: # HOOK A, # HOOK B, # HOOK C,
   # BODY. Strip any [SCREEN: ...] cue markers and markdown emphasis.
   Join the sections in that order with a blank line between each.
   Never add SSML or break tags; anything in angle brackets gets read
   aloud.
2. SHOW me the final text, the estimated length (words divided by 2.6
   is seconds) and the estimated cost at $0.05 per second, then WAIT
   for my approval. Every render costs money.
3. RENDER: POST https://api.heygen.com/v3/videos with header X-Api-Key
   from HEYGEN_API_KEY and this JSON body:
   type "avatar", avatar_id "<LOOK_ID>", voice_id "<VOICE_ID>",
   script <the text>, aspect_ratio "9:16", resolution "1080p",
   fit "cover", engine {"type": "avatar_iv"}, expressiveness "medium",
   caption {"file_format": "srt"}, motion_prompt "calm talking-head
   delivery, small head movements, light hand gestures at chest level,
   stays centered". Save the video_id from the response.
4. POLL GET https://api.heygen.com/v3/videos/<video_id> every 15
   seconds until status is completed. If it fails, show me the error
   and stop. Download video_url to renders/<scriptname>.mp4 and the
   subtitle file next to it.
5. REPORT the file path, the duration, and the balance before and after.

Rules:
- Never render the same script twice unless I say "re-render".
- Never print the API key.
- Never edit my script. If a line reads wrong out loud, tell me.
The approval gate in step 2 is the point of the whole file. A render is a purchase; you want to see the text and the price before it happens, every time.
Check it worked: AVATAR.md exists with your IDs in it and Claude Code repeats the pipeline back correctly. [SCREENSHOT: AVATAR.md in the folder]
Step 4: Write a script, render the first clip
Write your reel as a text file, one sentence per line, hooks first:
# HOOK A
I stopped filming my reels. You're literally watching my AI avatar right now.
# HOOK B
Okay, this isn't actually me. This is my AI avatar, and it made this whole reel from a text file.
# HOOK C
What if you never had to film another reel? Yeah, you're looking at the answer.
# BODY
[SCREEN: script.md being typed] Here's how it works. I write the script in a text file. Honestly, that's the only part I still do.
[SCREEN: the skill file] Then Claude Code reads a little skill file. That's where my avatar, my cloned voice, and my rules live.
...
Three hooks in one render costs a few cents more than one and gives you three trial-reel variants for free. Then:
Read AVATAR.md, then render script.md.Claude Code shows you the text, the length, and the price. Say "approved" and go get coffee. My first render (three hooks plus the body, 58 seconds) went from pending to completed in about 3 minutes; the clip appears in renders/, and the balance report tells you exactly what it cost. Two things I learned on that run: 4K is accepted for photo avatars but bills at about $0.067 per second instead of $0.05, and Whisper hears "HeyGen" as "Hey Jen", so expect one caption fix downstream.
Check it worked: renders/script.mp4 plays as a 9:16 clip of your avatar reading your script in your voice, and the reported cost matches the estimate within a few cents. [SCREENSHOT: the approval message with length and cost]
Step 5: Hand it to the editor, then batch it
The clip is raw footage, and it goes through exactly the same editor pipeline as filmed footage: transcribe, cut, caption, screen recordings, export. If you built the editor from the previous guide, drop the clip in that folder and run it. The one difference: no retakes to clean up, so the cut list is short.
Then batch. Write five scripts on Monday, render five clips in a row, edit them the same afternoon. The camera never came out.
Check it worked: a second script goes from text to finished clip with one prompt and one approval, and you never touched a camera.
The avatar renderer skill file + render script + script template
FAQ
Will people be able to tell it's an avatar?
Up close, sometimes, and I don't hide it: the reel that launched this guide opens by saying it. Current photo avatars hold up well at reel size and reel pace, and the edit (screen recordings, captions, cuts every 2 to 3 seconds) does most of the work anyway. Test one, post it, and let the numbers decide.
What does it cost per reel?
HeyGen's API bills per second of finished video: about $0.05 per second for a photo avatar on the default engine, so a 45-second reel is roughly $2.25 and a render with three hook variants plus the body is closer to $3. Prepaid wallet, no subscription needed for the API. Claude Code comes with the Claude Pro plan at $20 a month.
Do I need a HeyGen subscription for the API?
No. The API runs on a prepaid USD wallet, separate from the app subscription. Creating your avatar and cloning your voice happens in the HeyGen app once; the API then reuses both by ID.
Photo avatar or digital twin?
Start with a photo avatar: one good photo, ready in minutes, cheapest per second. A digital twin is trained from a couple of minutes of real footage, moves more like you, and costs a bit more per second. Both work with the same skill file; you change one ID.
Can I still do the three hook variants for testing?
Yes, and it's cheaper than filming them: the script file holds hook A, B, and C, the avatar reads all three then the body in one render, and the editor cuts three variants from it. Same trial-reel process, no retakes.
Related guides
I made Claude Code my video editor (cuts, captions, exports)
You'll give Claude Code a skill file that edits your videos: transcribe, cut the dead air, burn captions, export 9:16. After the 30-minute setup, editing a clip is one sentence in a terminal.
Make AI sound exactly like you (the voice file trick)
AI content sounds like AI because the model has never met you. In 15 minutes you'll build the one file that fixes it: a voice file the AI loads before writing anything.
The exact system that writes a week of my content in an hour
You'll build the AI content creation system that turns one topic into a week of platform-ready drafts, in your voice. One hour to set it up, and after that Monday runs the week.
Get the next build in your inbox
One email a week: the newest guides, plus one thing I only share with the list.
No spam. Unsubscribe anytime.
Build alongside others
Join the free community and share what you're shipping.

Jordan Hong Tai
I've scaled products to over 500K users, and now I build AI systems in public from a balcony in Tokyo.